File Transfer Operations
7. FILE TRANSFER OPERATIONS
File transfer operations are a crucial process in SCADA systems, enhancing efficiency and user experience. These operations allow for the quick integration of various components, data, and settings into the project. Users can customize their projects by adding pre-existing files and updating the current data. File transfer increases the system's flexibility while requiring the use of appropriate formats and structures to maintain data integrity. This ensures that the system operates in a more organized and efficient manner.
Import and Export Functions in the Editor:
The following file types can be imported and exported using the import/export Function in the editor:
Project Files
User Information Files
Alarm Files
Channel Files
Frame Files
Tag Files
Channel,Frames, Tags Transfer Files
Files must be created in appropriate formats with the “xslx” extension. The system will not recognize external formats.
7.1 Project File Import and Export
Steps to Import Project Files;
In the interface, click on the “File” tab and select “Import/Export Project” then choose the file to import.
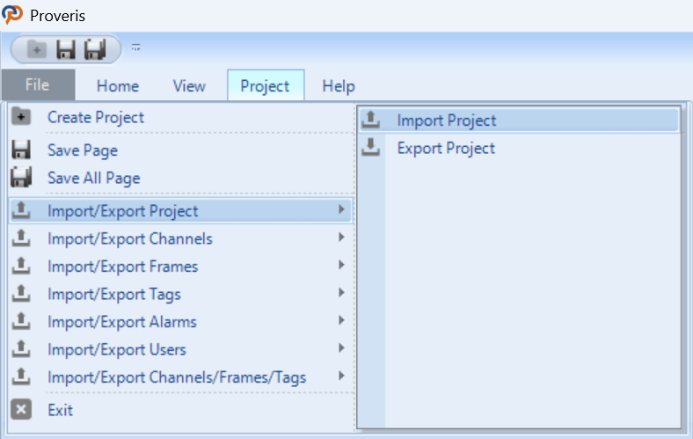
Figure 153 – Importing Project File
To export the created project files, follow the same steps and select the “Export” option.
7.2 User File Import and Export
Steps to import user information file;
In the interface, click on the “File” tab and select “Import/Export Users”, then choose the file to import.

Figure 154 – Importing User Files
To export the created user files, follow the same steps and select the “Export” option.
7.3 Channel File Import and Export
Steps to Import Channel File;
In the interface, click on the "File" tab and select "Import/Export Channels", then choose the file to import.
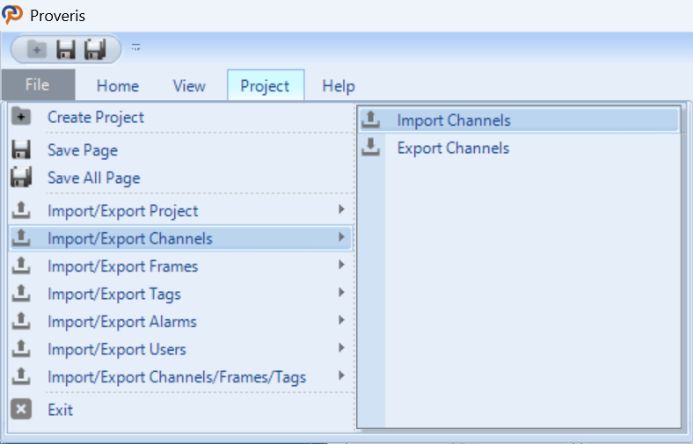
Figure 155 – Importing Channel Files
In the Tag Editor, click on the curved arrow icon located at the bottom of the "Created Channels" panel, then choose the file to import.
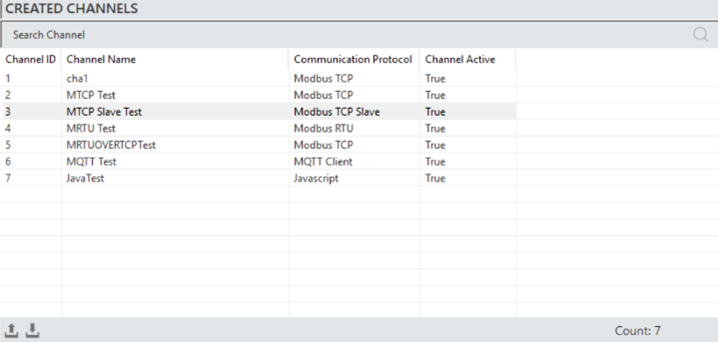
Figure 156 – Importing Channel Files
Follow the same steps and select the 'Export' option.
7.4 Frame File Import and Export
To Import a Frame File;
In the interface, click on the "File" tab and select "Import/Export Frames", then choose the file to import.
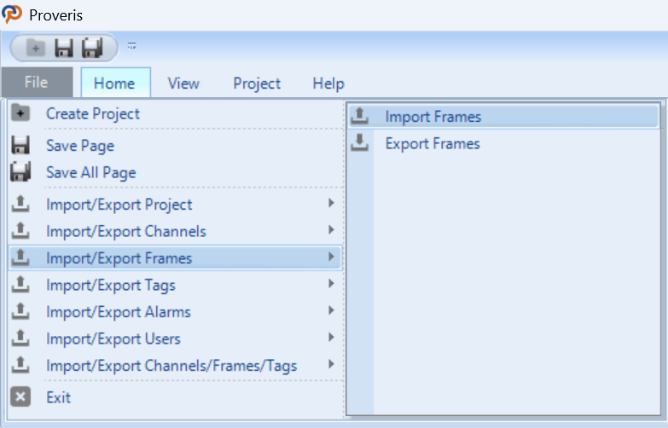
Figure 157 – Importing Frame Files
In the Tag Editor, click on the curved arrow icon located at the bottom of the "Created Frames" panel, then choose the file to import.
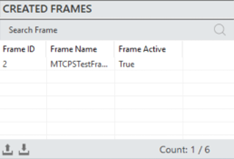
Figure 158 – Importing Frame Files
Follow the same steps and select the 'Export' option.
7.5 Tag File Import and Export
To import a tag file;
In the interface, click on the "File" tab and select "Import/Export Tags", then choose the file to import.
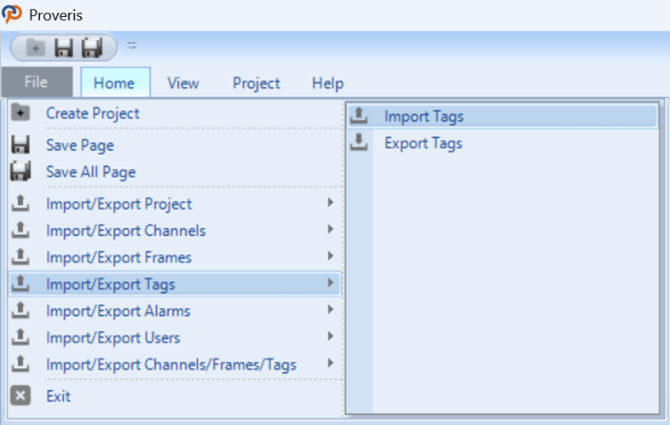
Figure 159 – Importing Tag Files
In the Tag Editor, click on the curved arrow icon located at the bottom of the "Created Tags" panel, then choose the file to import.
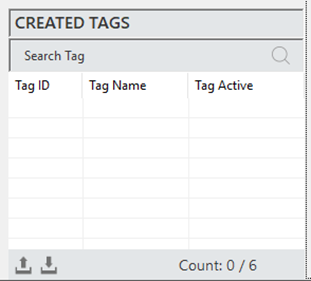
Figure 160 – Importing Tag Files
Follow the same steps and select the 'Export' option.
7.6 Alarm File Import and Export
To Import an alarm file;
In the interface, click on the "File" tab and select "Import/Export Alarms", then choose the file to import.
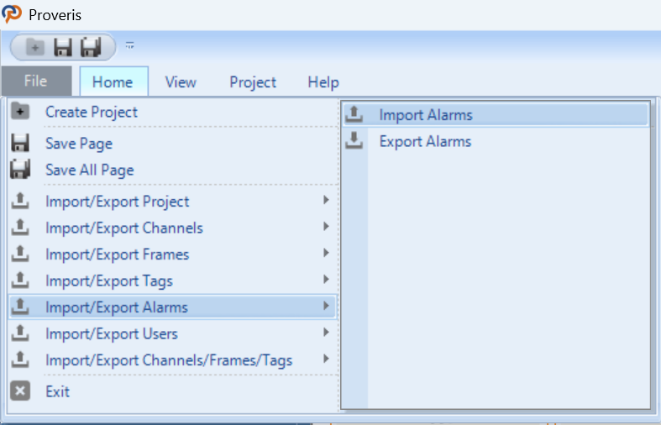
Figure 161 – Importing Alarm Files
In the Alarm Editor, click on the curved arrow icon located at the bottom of the "Created Alarms" panel, then choose the file to import.
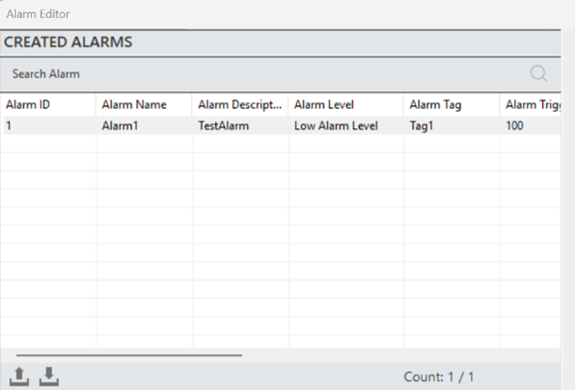
Figure 162 – Importing Alarm Files
Follow the same steps and select the 'Export' option.
7.7 Channels, Frames, Tags Import and Export
To Import an Channels, Frames , Tags ;
In the interface, click on the "File" tab and select "Import/Export Channels, Frames , Tags ", then choose the file to import.
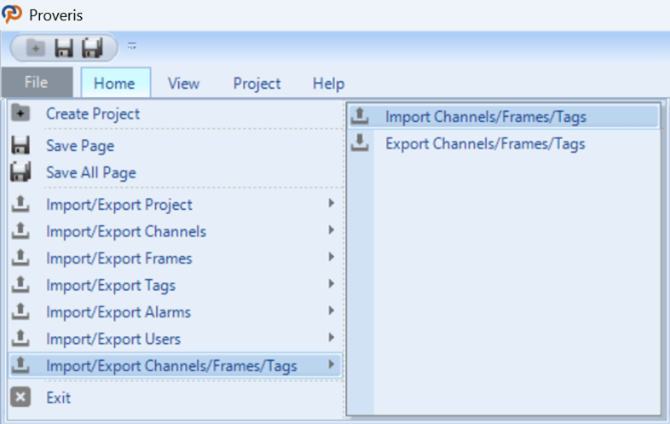
Figure 163 – Importing Channels, Frames, Tags Files
Follow the same steps and select the 'Export' option.